> For the complete documentation index, see [llms.txt](https://docs.urbit.org/llms.txt). Markdown versions of documentation pages are available by appending `.md` to page URLs; this page is available as [Markdown](https://docs.urbit.org/build-on-urbit/userspace/dist/software-distribution.md).
# Software Distribution Guide
In this document we'll walk through an example of creating and publishing a desk that others can install. We'll create a simple "Hello World!" front-end with a "Hello" tile to launch it. For simplicity, the desk won't include an actual Gall agent, but we'll note everything necessary if there were one.
## Install binary
*Note: You can skip this step if you already have the latest binary installed.*
Follow the [CLI install instructions](/get-on-urbit.md#get-the-urbit-runtime) appropriate for your OS to download the `urbit` binary.
## Spin up fake ship
*Note: You can skip this step if you already have a fake \~zod.*
With the `urbit` binary installed, run the following in the terminal to spin up a fake \~zod:
{% code title="Unix" %}
```sh
./urbit -F zod
```
{% endcode %}
It will take a couple of minutes to spin up, but it should eventually take you to a Dojo prompt like:
{% code title="Dojo" %}
```
~zod:dojo>
```
{% endcode %}
## Create desk
In the Dojo of your fake \~zod, run the following to create a new desk called `%hello`:
{% code title="Dojo" %}
```
|new-desk %hello
```
{% endcode %}
If you now run `+tree` on the desk, you'll see it now exists and has a handful of files in it:
{% code title="Dojo" %}
```
> +tree /=hello=
/mar/hoon/hoon
/mar/kelvin/hoon
/mar/noun/hoon
/mar/txt/hoon
/sys/kelvin
```
{% endcode %}
## Copy in extra files
Each desk must be self-contained in terms of its mark files and libraries. There's a couple of extra mark files and such that we'll need to add, so run the following commands in the Dojo:
{% code title="Dojo" %}
```
|cp %/mar/mime/hoon /=hello=/mar/mime/hoon
|cp %/mar/txt-diff/hoon /=hello=/mar/txt-diff/hoon
|cp %/mar/ship/hoon /=hello=/mar/ship/hoon
|cp %/mar/bill/hoon /=hello=/mar/bill/hoon
|cp /=landscape=/mar/docket-0/hoon /=hello=/mar/docket-0/hoon
|cp /=landscape=/sur/docket/hoon /=hello=/sur/docket/hoon
|cp /=landscape=/lib/docket/hoon /=hello=/lib/docket/hoon
```
{% endcode %}
## Mount the desk
Now we have all the basic files we need, we can mount the desk to the host. Run the following in the Dojo:
{% code title="Dojo" %}
```
|mount %hello
```
{% endcode %}
Now, in an ordinary terminal (not the Dojo), navigate to the mounted desk:
{% code title="Unix" %}
```sh
cd zod/hello
```
{% endcode %}
## Config files
### `sys.kelvin`
Our desk must include a `sys.kelvin` file which specifies the kernel version it's compatible with. The `|new-desk` generator automatically added that, so we can leave it as-is.
### `desk.ship`
We can optionally add a `desk.ship` file to specify the original publisher of this desk. We're using a fake \~zod so let's just add \~zod as the publisher:
{% code title="Unix" %}
```sh
echo "~zod" > desk.ship
```
{% endcode %}
### `desk.bill`
If we had Gall agents in this desk which should be automatically started when the desk is installed, we'd add them to a list in the `desk.bill` file. It would look something like this:
{% code title="desk.bill" %}
```hoon
:~ %some-agent
%another-agent
==
```
{% endcode %}
In this example we're not adding any agents, so we'll simply omit the `desk.bill` file.
### `desk.docket-0`
The final file we need is `desk.docket-0`. This one's more complicated, so we'll open it in our preferred text editor:
{% code title="Unix" %}
```sh
nano desk.docket-0
```
{% endcode %}
In the text editor, we'll add the following:
{% code title="desk.docket-0" %}
```hoon
:~ title+'Hello'
info+'A simple hello world app.'
color+0x81.88c9
image+'https://media.urbit.org/guides/additional/dist/wut.svg'
base+'hello'
glob-ames+[~zod 0v0]
version+[0 0 1]
website+'https://urbit.org'
license+'MIT'
==
```
{% endcode %}
You can refer to the [Docket File](/build-on-urbit/userspace/dist/docket.md) documentation for more details of what is required. In brief, the `desk.docket-0` file contains a Hoon list of [clauses](/build-on-urbit/userspace/dist/docket.md) which configure the appearance of the app tile, the source of the [glob](/build-on-urbit/userspace/dist/glob.md), and some other metadata.
We've given the app a [`%title`](/build-on-urbit/userspace/dist/docket.md#title) of "Hello", which will be displayed on the app tile and will be the name of the app when others browse to install it. We've given the app tile a [`%color`](/build-on-urbit/userspace/dist/docket.md#color) of `#8188C9`, and also specified the URL of an [`%image`](/build-on-urbit/userspace/dist/docket.md#image) to display on the tile.
The [`%base`](/build-on-urbit/userspace/dist/docket.md#base) clause specifies the base URL path for the app. We've specified `'hello'` so it'll be `http://localhost:8080/apps/hello/...` in the browser. For the [glob](/build-on-urbit/userspace/dist/glob.md), we've used a clause of [`%glob-ames`](/build-on-urbit/userspace/dist/docket.md#glob-ames), which means the glob will be served from a ship over Ames, as opposed to being served over HTTP with a [`%glob-http`](/build-on-urbit/userspace/dist/docket.md#glob-http) clause or having an Eyre binding with a [`%site`](/build-on-urbit/userspace/dist/docket.md#site) clause. You can refer to the [glob](/build-on-urbit/userspace/dist/glob.md) documentation for more details of the glob options. In our case we've specified `[~zod 0v0]`. Since \~zod is the fakeship we'll install it on, the `%docket` agent will await a separate upload of the glob, so we can just specify `0v0` here as it'll get overwritten later.
The [`%version`](/build-on-urbit/userspace/dist/docket.md#version) clause specifies the version as a triple of major version, minor version and patch version. The rest is just some additional informative metadata which will be displayed in *App Info*.
So let's save that to the `desk.docket-0` file and have a look at our desk:
{% code title="Unix" %}
```sh
ls
desk.docket-0 desk.ship lib mar sur sys.kelvin
```
{% endcode %}
## Commit
Now we've added out configuration files, we can commit them to the desk. Back in the fake \~zod's Dojo, run the following:
{% code title="Dojo" %}
```
|commit %hello
```
{% endcode %}
You should see something like this as the result:
{% code title="Dojo" %}
```
>=
+ /~zod/hello/9/desk/ship
+ /~zod/hello/9/desk/docket-0
```
{% endcode %}
## Install
The next step is to install the desk as an app. Run the following in the Dojo:
{% code title="Dojo" %}
```
|install our %hello
```
{% endcode %}
You should see a message like:
{% code title="Dojo" %}
```
docket: awaiting manual glob for %hello desk
```
{% endcode %}
That's because our `desk.docket-0` file includes a [`%glob-ames`](/build-on-urbit/userspace/dist/docket.md#glob-ames) clause which specifies our ship as the source, so it's waiting for us to upload the glob of front-end files.
## Create files for glob
We'll now create the files for the glob. We'll use a very simple static HTML page that just displayes "Hello World!" and an image. Typically we'd have a more complex JS web app that talked to apps on our ship through Eyre's channel system, but for the sake of simplicity we'll forgo that. Let's hop back in the Unix terminal and run a few commands:
{% code title="Unix" %}
```sh
cd ~
mkdir hello-glob
cd hello-glob
mkdir img
wget -P img https://media.urbit.org/guides/additional/dist/pot.svg
```
{% endcode %}
We should now have the following file structure in our home directory:
{% code title="Unix" %}
```
hello-glob
└── img
└── pot.svg
```
{% endcode %}
We've grabbed an image to use in our "Hello world!" page. The next thing we need to add is an `index.html` file in the root of the folder. The `index.html` file is mandatory; it's what will be loaded when the app's tile is clicked. Let's open our preferred editor and create it:
{% code title="Unix" %}
```sh
nano index.html
```
{% endcode %}
In the editor, paste in the following HTML and save it:
{% code title="index.html" %}
```html
Hello World
Hello World!

```
{% endcode %}
Our `/hello-glob` folder should now look like this:
{% code title="Unix" %}
```
hello-glob
├── img
│ └── pot.svg
└── index.html
```
{% endcode %}
## Login to Landscape
Open a web browser and navigate to `localhost:8080`, or just `localhost` if port `8080` doesn't work. It should take you to the fake \~zod's login screen. Login with the fake \~zod's default code of `lidlut-tabwed-pillex-ridrup`.
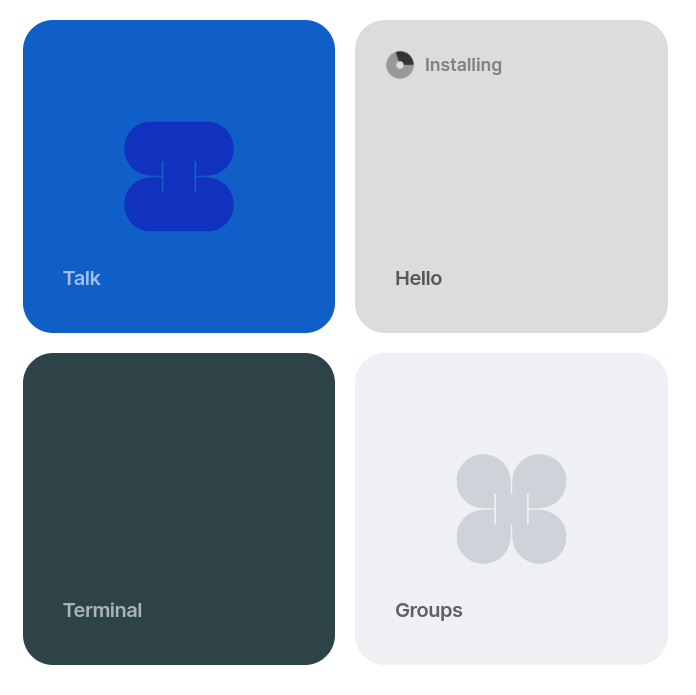
Once you login, you'll notice you have the Hello app's tile, but it still says "installing" because we haven't uploaded the glob yet:
## Upload to glob
We can now create a glob from the `/hello-glob` directory we previously created. To do so, navigate to `http://localhost:8080/docket/upload` in the browser. This will bring up the `%docket` app's [Globulator](/build-on-urbit/userspace/dist/glob.md#globulator) tool:
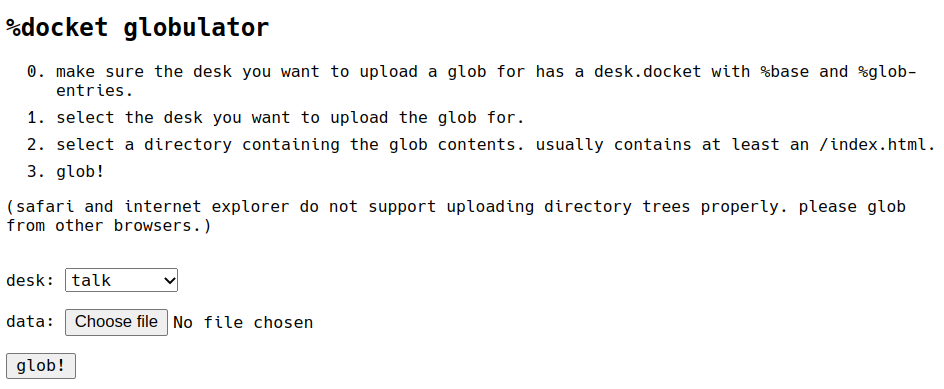
Simply select "hello" from the drop-down, click "Choose file" and select the `/hello-glob` folder in the the file browser, then click the "glob!" button.
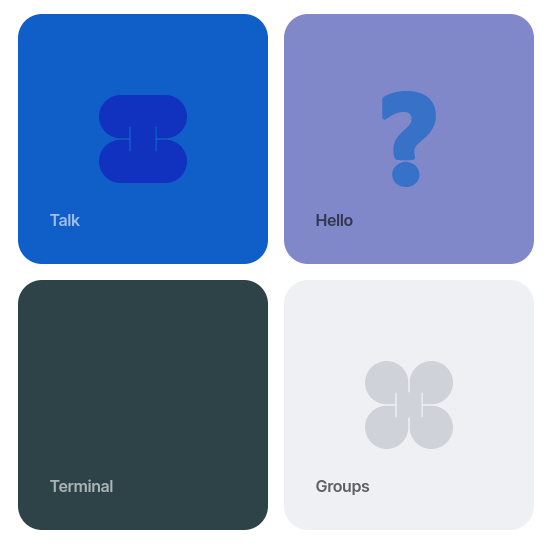
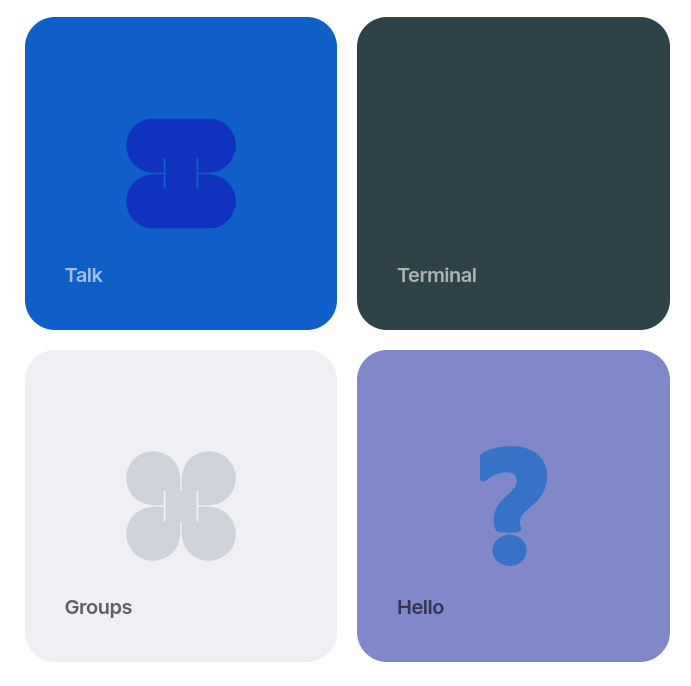
Now if we return to our ship's homescreen, we should see the tile looks as we specified in the docket file:
And if we click on the tile, it'll load the `index.html` in our glob:
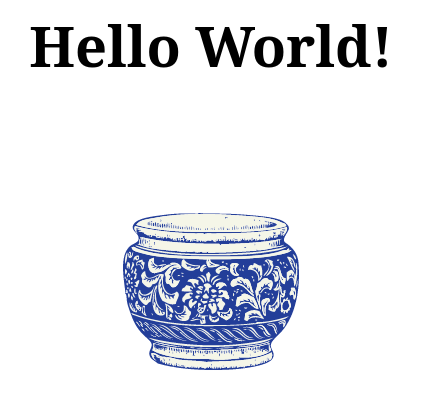
Our app is working!
## Publish
The final step is publishing our desk with the `%treaty` agent so others can install it. To do this, there's a simple command in the dojo:
{% code title="Dojo" %}
```
> :treaty|publish %hello
>=
```
{% endcode %}
Note: For desks without a docket file (and therefore without a tile and glob), `%treaty` can't be used. Instead you can make the desk public with `|public %desk-name`, which will enable other ships to install it with the Dojo command `|install ~sampel %desk-name`.
## Remote install
Let's spin up another fake ship in the terminal so we can try install it:
{% code title="Unix" %}
```sh
cd ~
./urbit -F bus
```
{% endcode %}
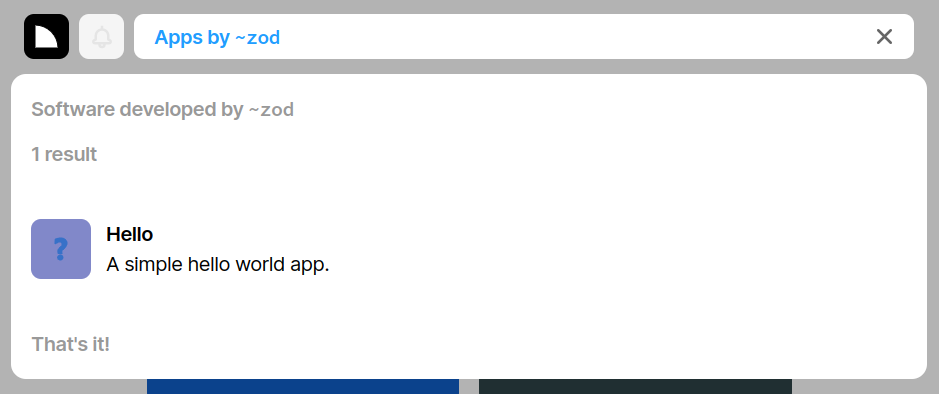
In the browser, navigate to `localhost:8081` (or `localhost:8080` if that doesn't work) and login with \~bus's code `riddec-bicrym-ridlev-pocsef`. Next, type "\~zod" in the search bar and click on the matching result. It should pop up a list of \~zod's published apps, which in this case is our "Hello" app:
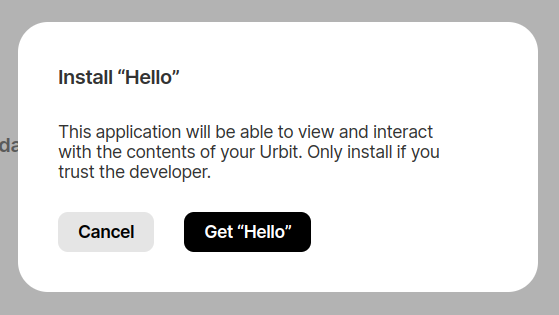
When we click on the app, it'll show some of the information from the clauses in the docket file:

Click "Get App" and it'll ask as if we want to install it:
Finally, click "Get 'Hello'" and it'll be installed as a tile on \~bus which can then be opened:
---
# Agent Instructions
This documentation is published with GitBook. GitBook is the documentation platform designed so that both humans and AI agents can read, navigate, and reason over technical content effectively. Learn more at gitbook.com.
## Querying This Documentation
If you need additional information that is not directly available in this page, you can query the documentation dynamically by asking a question.
Perform an HTTP GET request on the current page URL with the `ask` query parameter, and the optional `goal` query parameter:
```
GET https://docs.urbit.org/build-on-urbit/userspace/dist/software-distribution.md?ask=&goal=
```
`ask` is the immediate question: it should be specific, self-contained, and written in natural language.
`goal` is optional and describes the broader end goal you are ultimately trying to accomplish on behalf of the user. GitBook uses it to tailor the answer towards what is most useful for that goal.
The response will contain a direct answer to the question and relevant excerpts and sources from the documentation.
Use this mechanism when the answer is not explicitly present in the current page, you need clarification or additional context, or you want to retrieve related documentation sections.